Settings, roles and the application form
For: Administrators
Whole guide as PDF (5 MB)Interview Settings
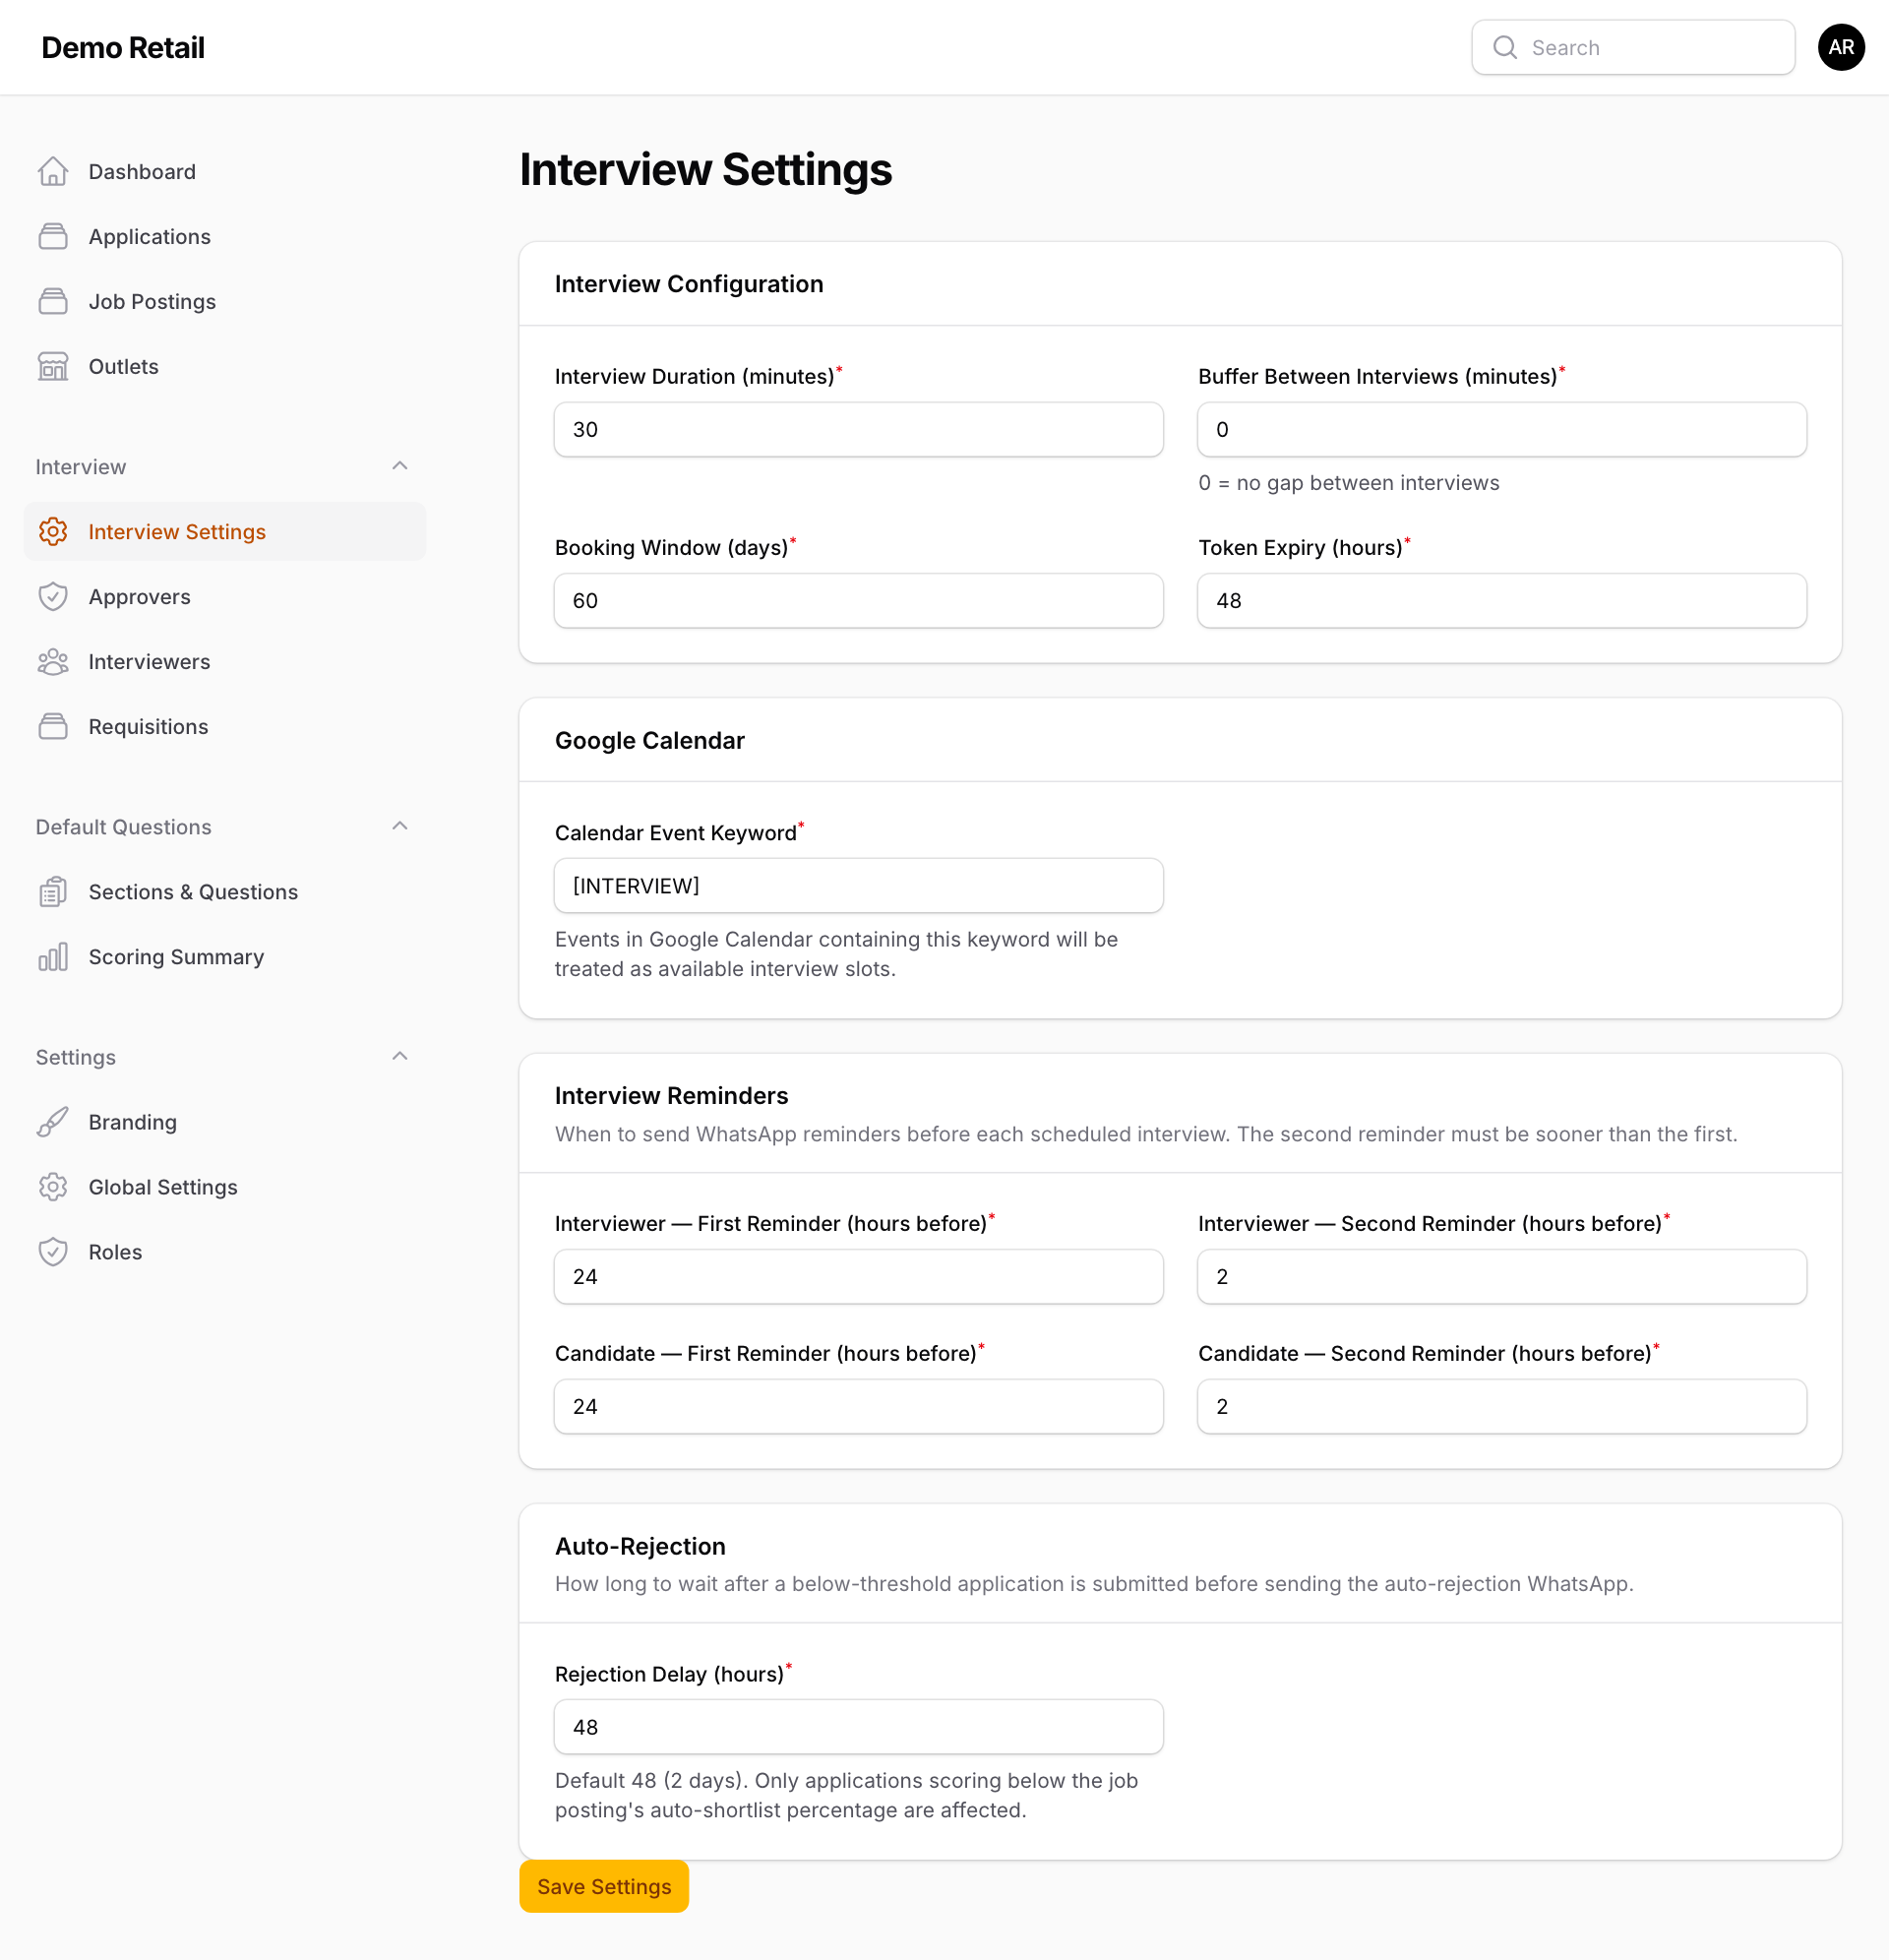
Under Interview, press Interview Settings. Press Save Settings when done.
- Interview Duration (minutes) and Buffer Between Interviews (minutes): the length of each time slot and the gap between them.
- Booking Window (days): how far ahead applicants can book.
- Token Expiry (hours): how long a booking link works.
- Calendar Event Keyword: the word that marks free time in an interviewer's Google Calendar.
- Interview Reminders: how many hours before the interview the first and second WhatsApp reminders go to interviewers and to the applicant.
- Rejection Delay (hours): how long after applying a low-scoring applicant gets the rejection message. It applies to applications below the job's Auto-Reject Below Percentage, even though the help text under the box says "auto-shortlist percentage".
Branding
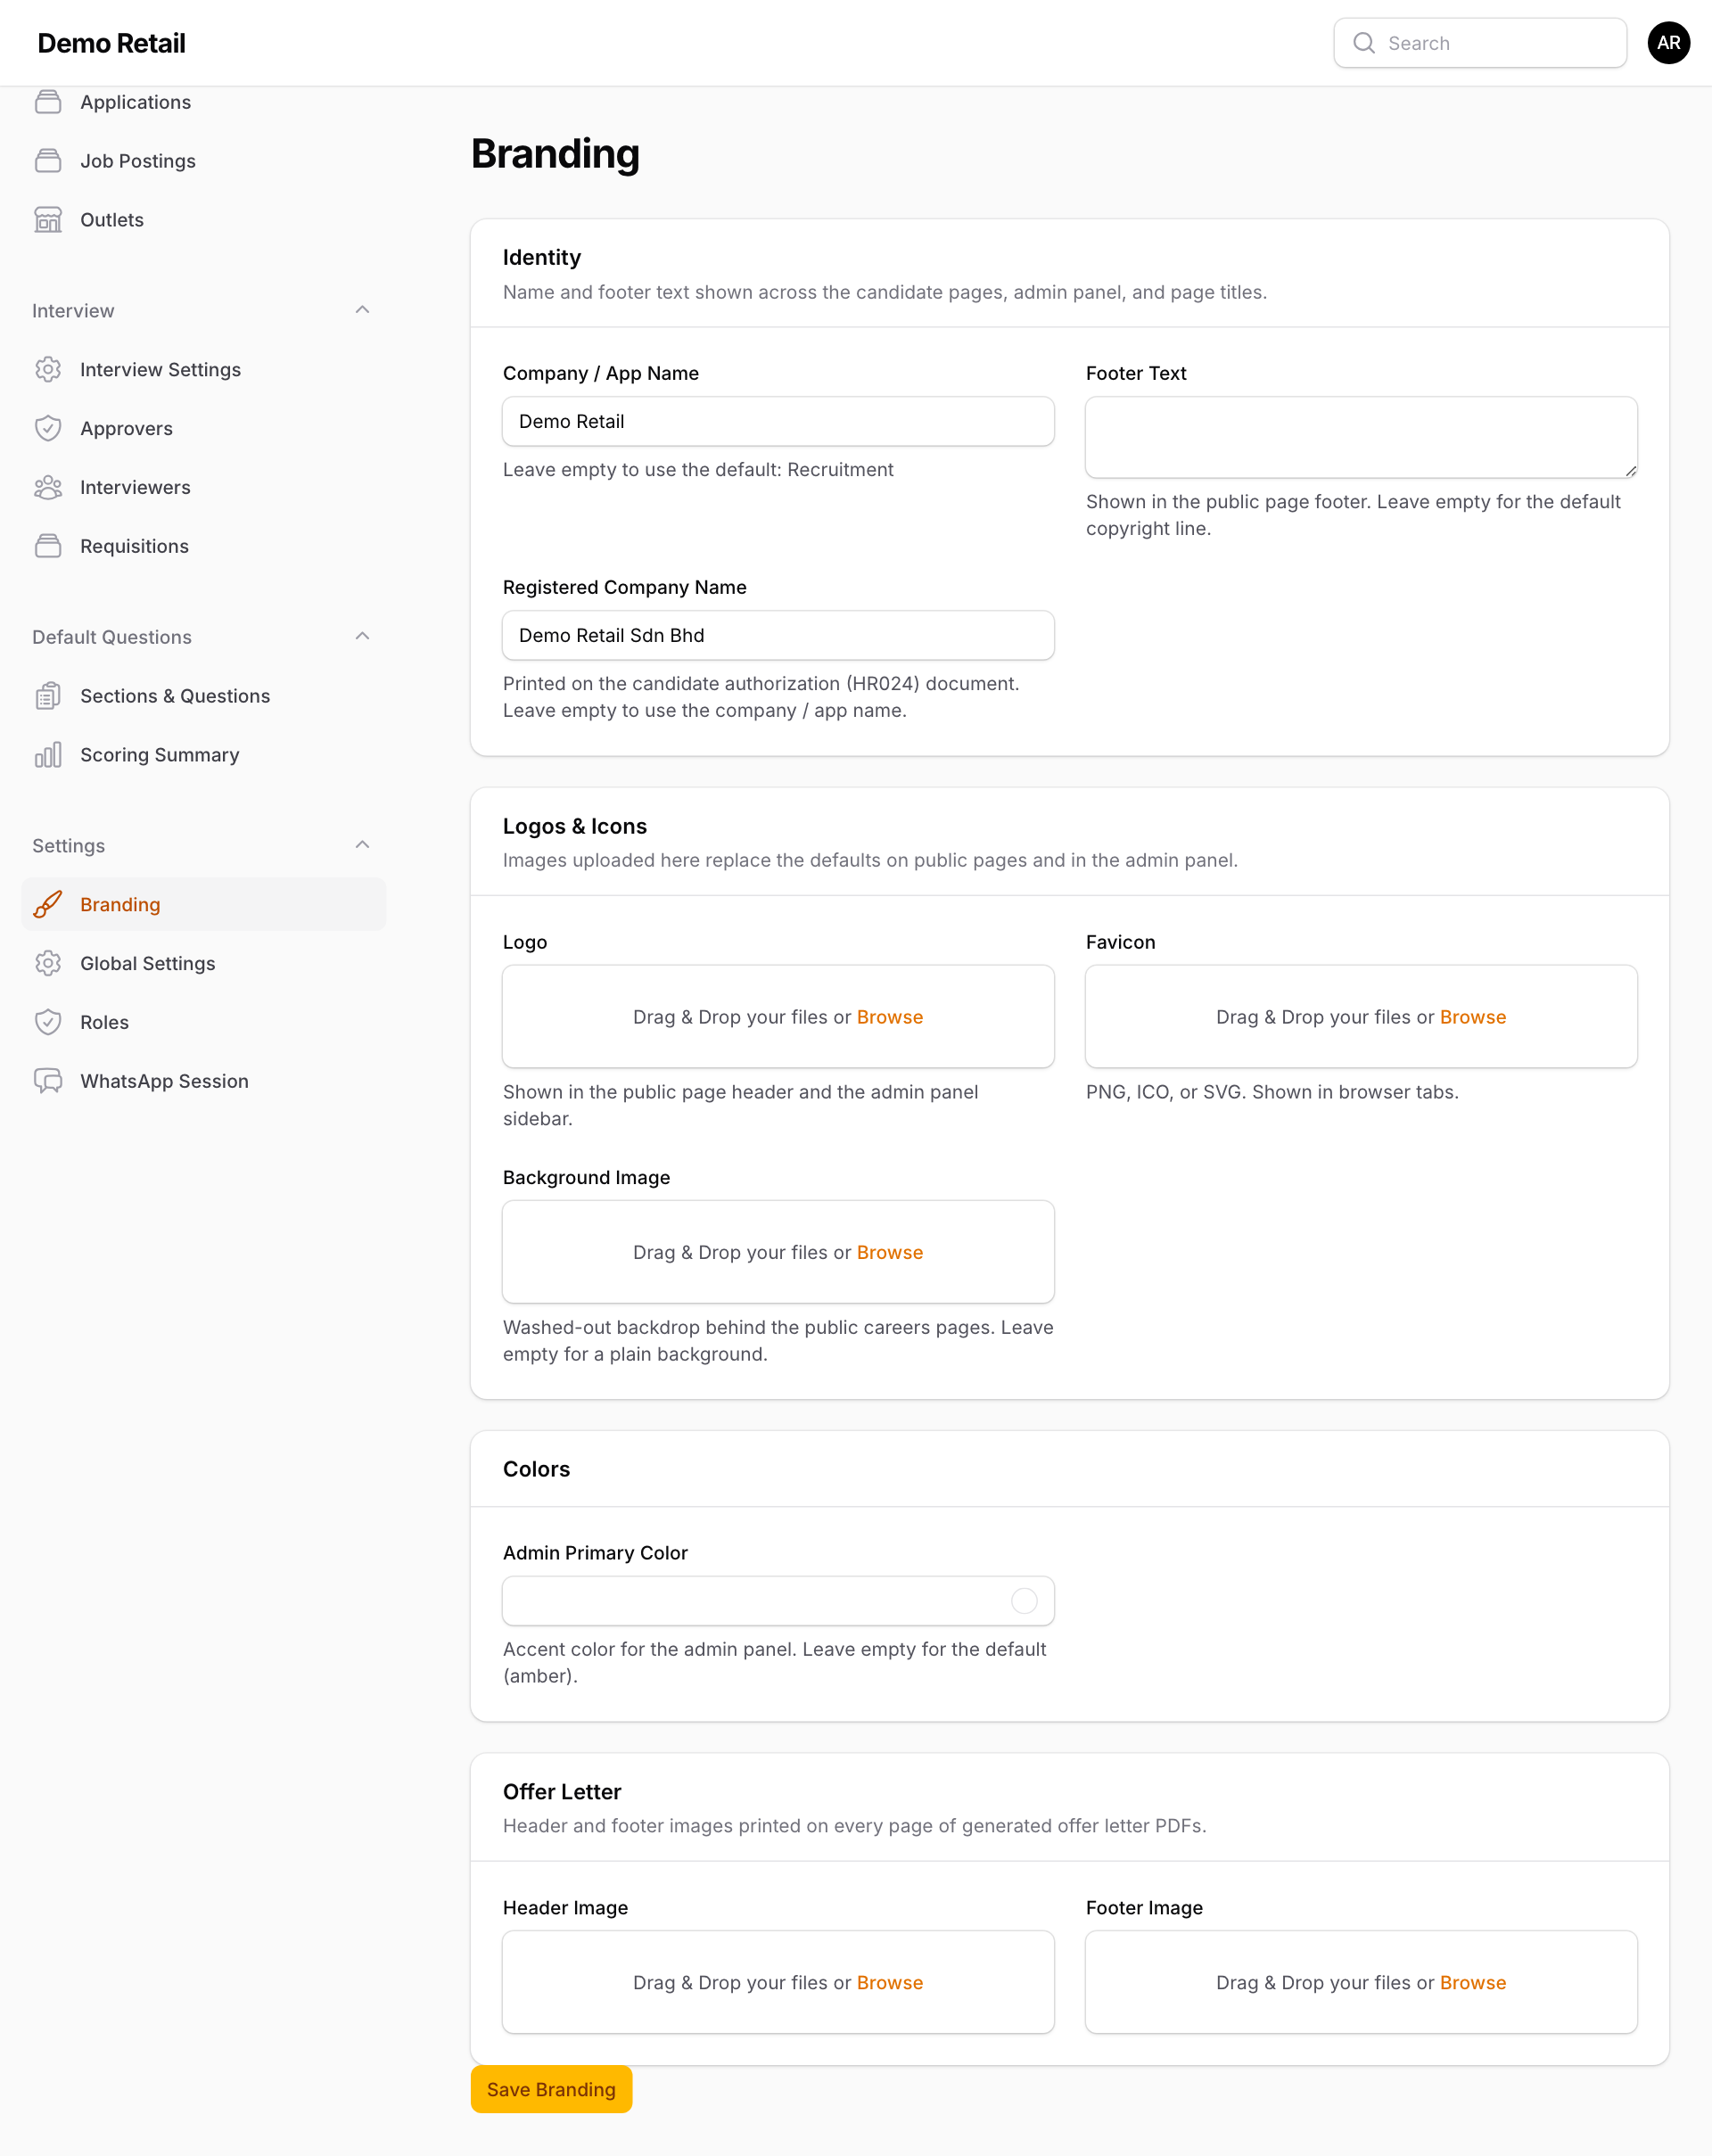
Under Settings, press Branding:
- Company / App Name: shown on the careers page, the admin screens and in WhatsApp messages.
- Registered Company Name: printed on the applicant's authorization form.
- Logo, Favicon (the small icon in the browser tab), Background Image and Admin Primary Color.
- Offer Letter: the Header Image and Footer Image printed on every page of the offer letter. Upload your own before the first offer; until you do, the app prints the images it came with.
Press Save Branding.
WhatsApp Session and AI
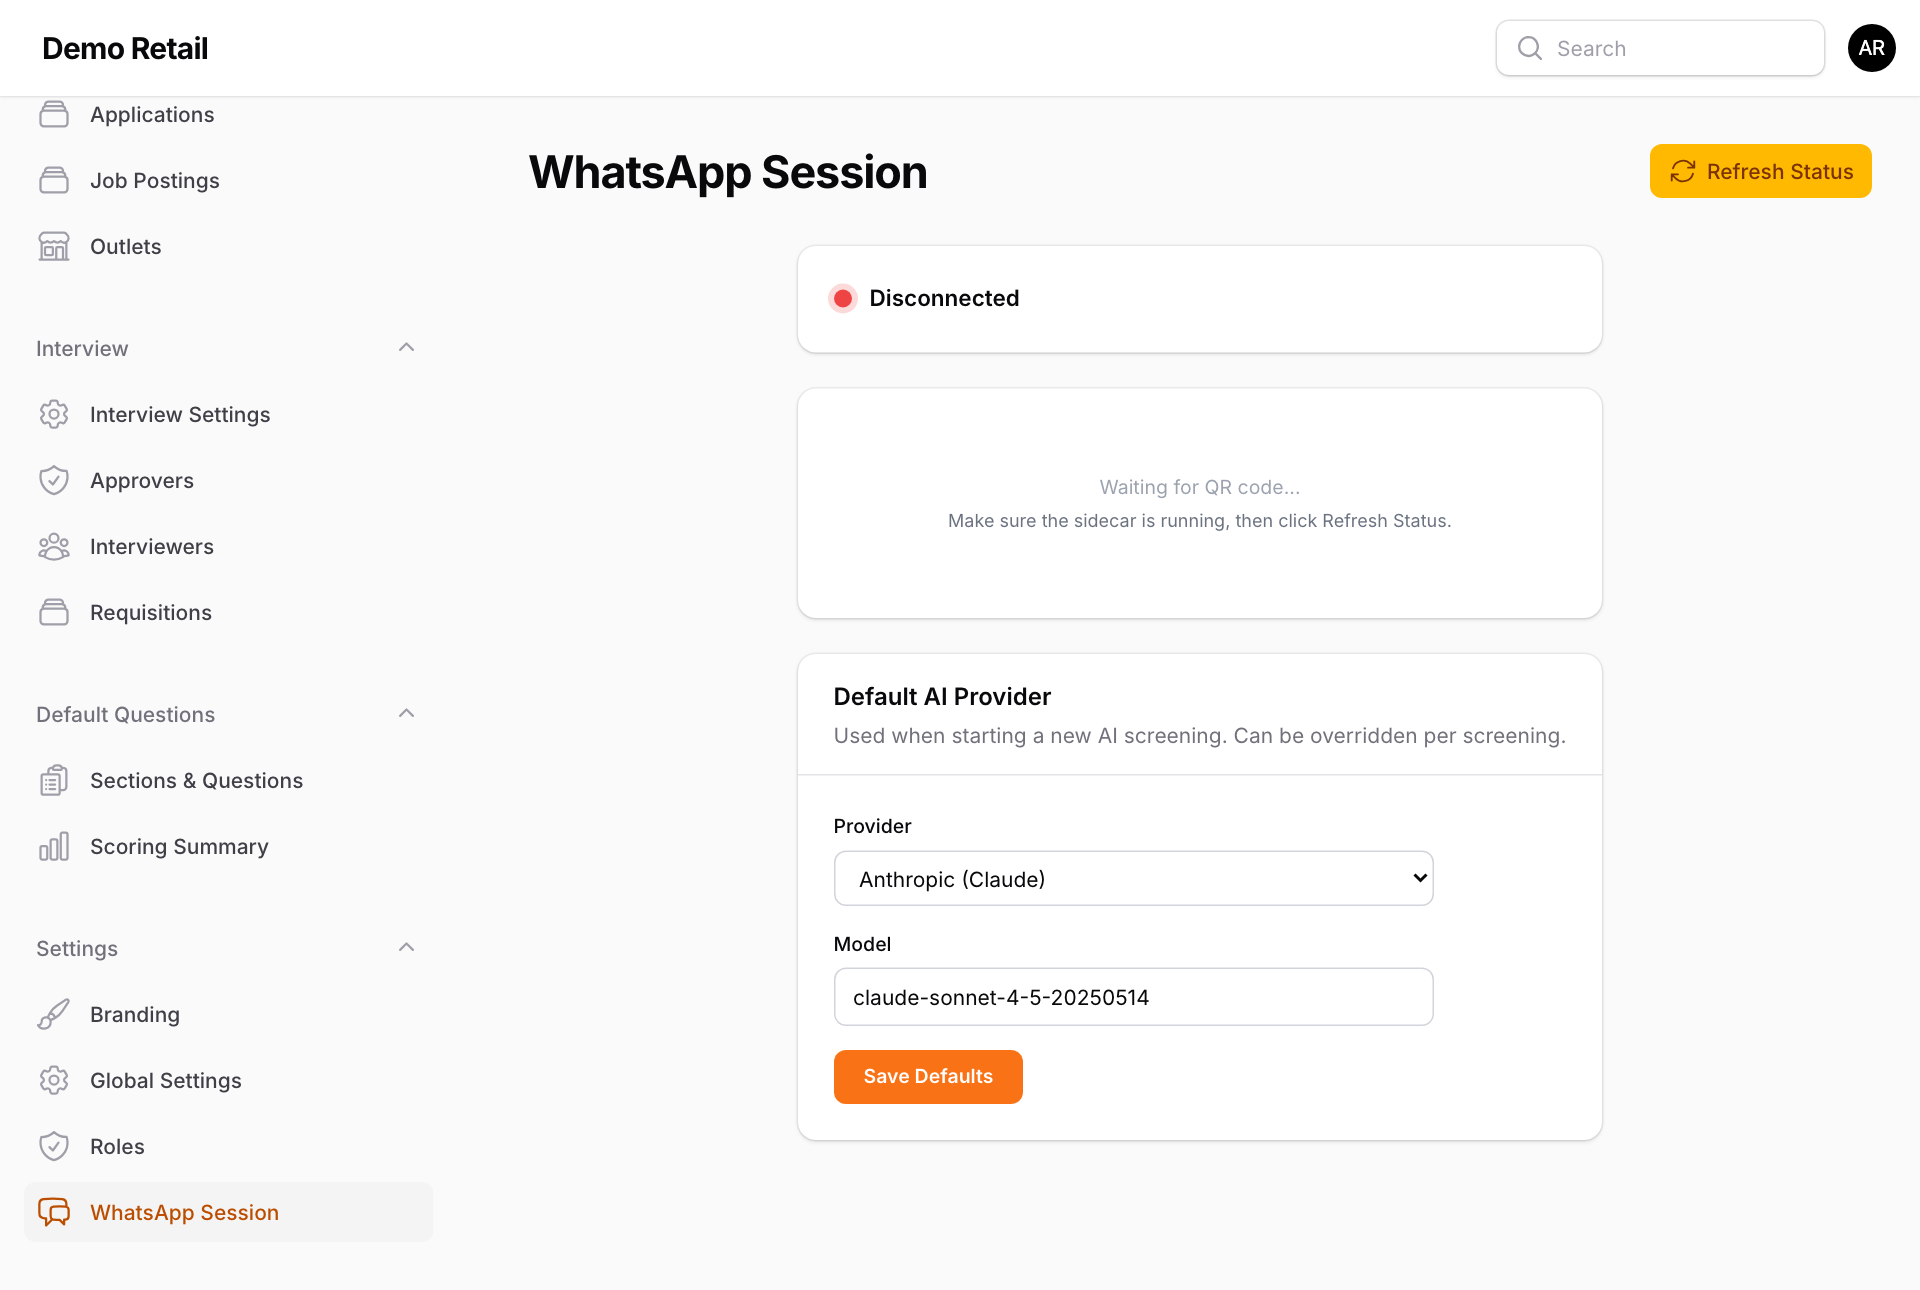
WhatsApp Session connects a second WhatsApp number used only by AI Screenings. It shows Disconnected until your administrator starts that connection; then you scan the code shown with WhatsApp. Your normal messages do not use it.
Default AI Provider on the same page sets the AI service and model used for AI Screenings and suggested interview questions. Press Save Defaults. Both need an AI service set up by your administrator.
The standard application form
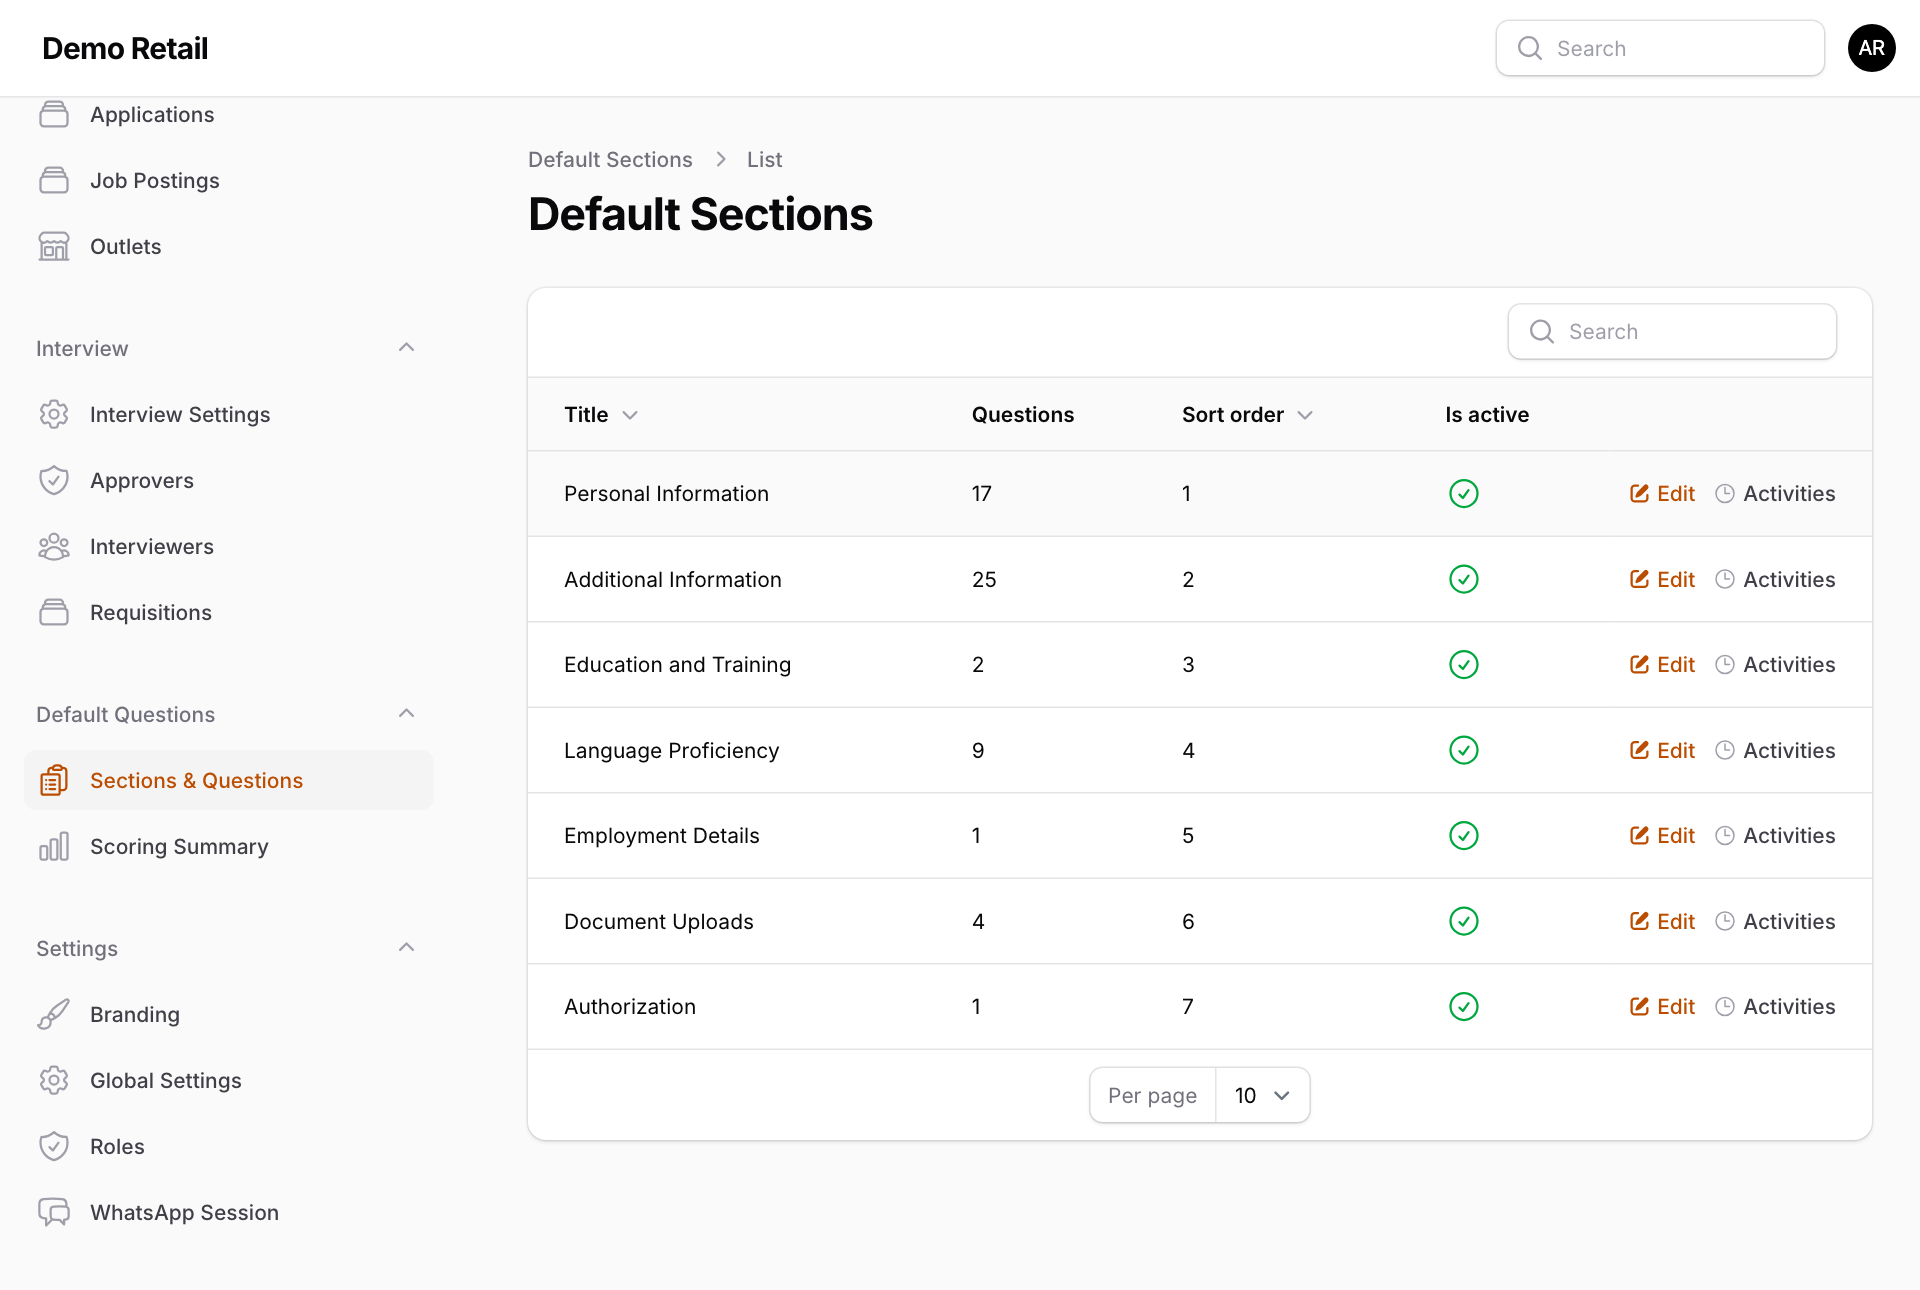
Every job uses the same standard form, made of 7 sections. Under Default Questions, press Sections & Questions.
-
Press Edit on a section. Scroll to Questions and press Edit on a question.
-
Change the Label (the question text), Is required, and Is scorable (whether the answer counts towards the score).
-
Under Options, each answer has a Score: the points it adds or, if negative, takes away. Press Save changes.
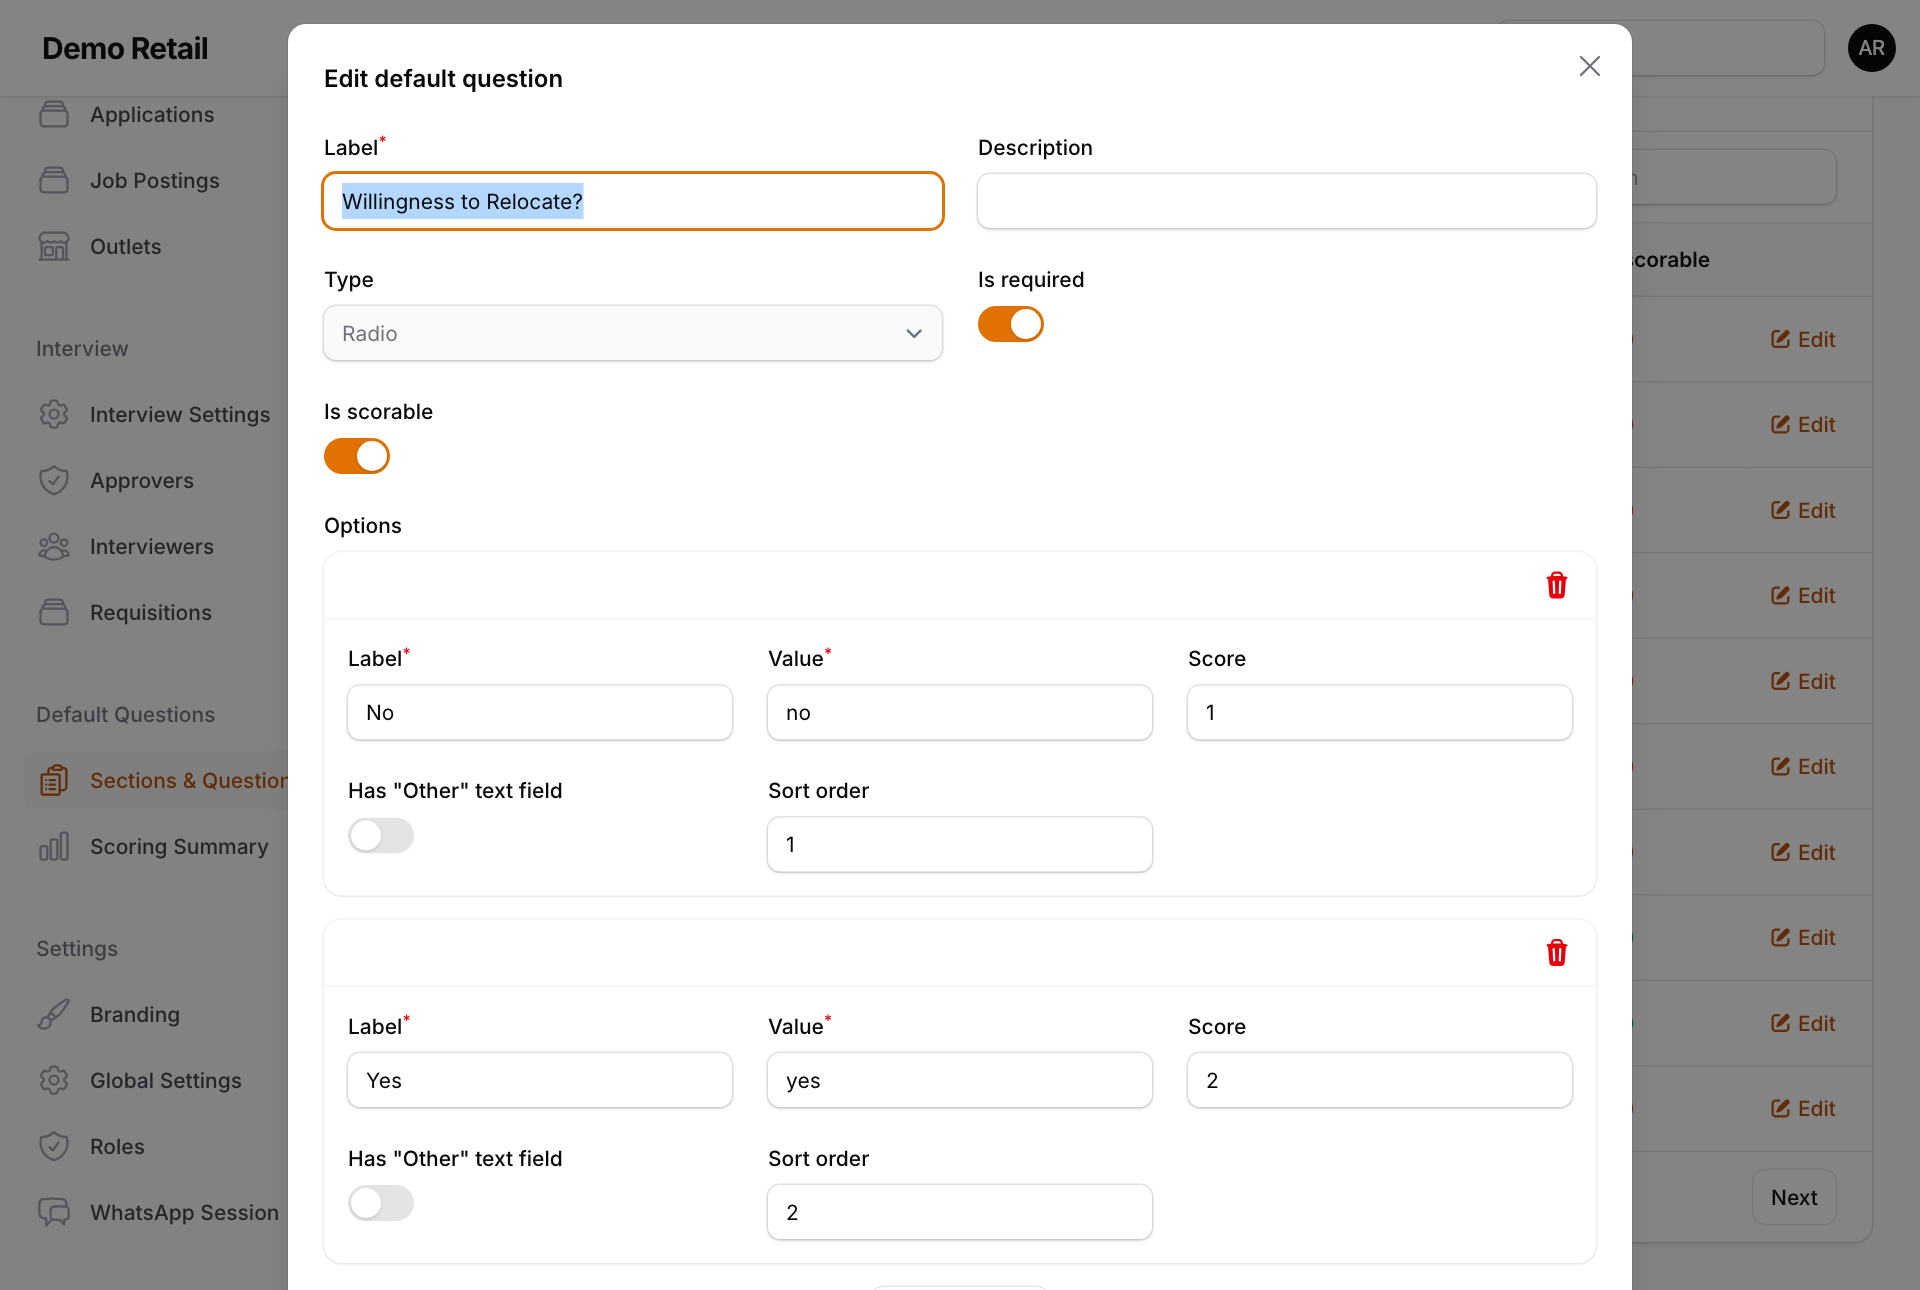
You can change and switch off sections and questions here, but not add new sections. Add questions for one job on the job posting instead (see "Open a job posting").
Scoring Summary lists every question that counts towards the score, with its lowest and highest points. Check it before you open jobs: the standard form comes with negative points for some personal and health answers.
Roles and accounts
Under Settings, press Roles to see who can do what. The roles that come with the module:
- Hr Admin: everything.
- Hr Reviewer: can see the applications list and pages only.
- Requisition Requester: can send position requests.
- Management Approver: receives position requests to approve.
Press New Role to make your own, for example one for interviewers that can view applications and interviews.
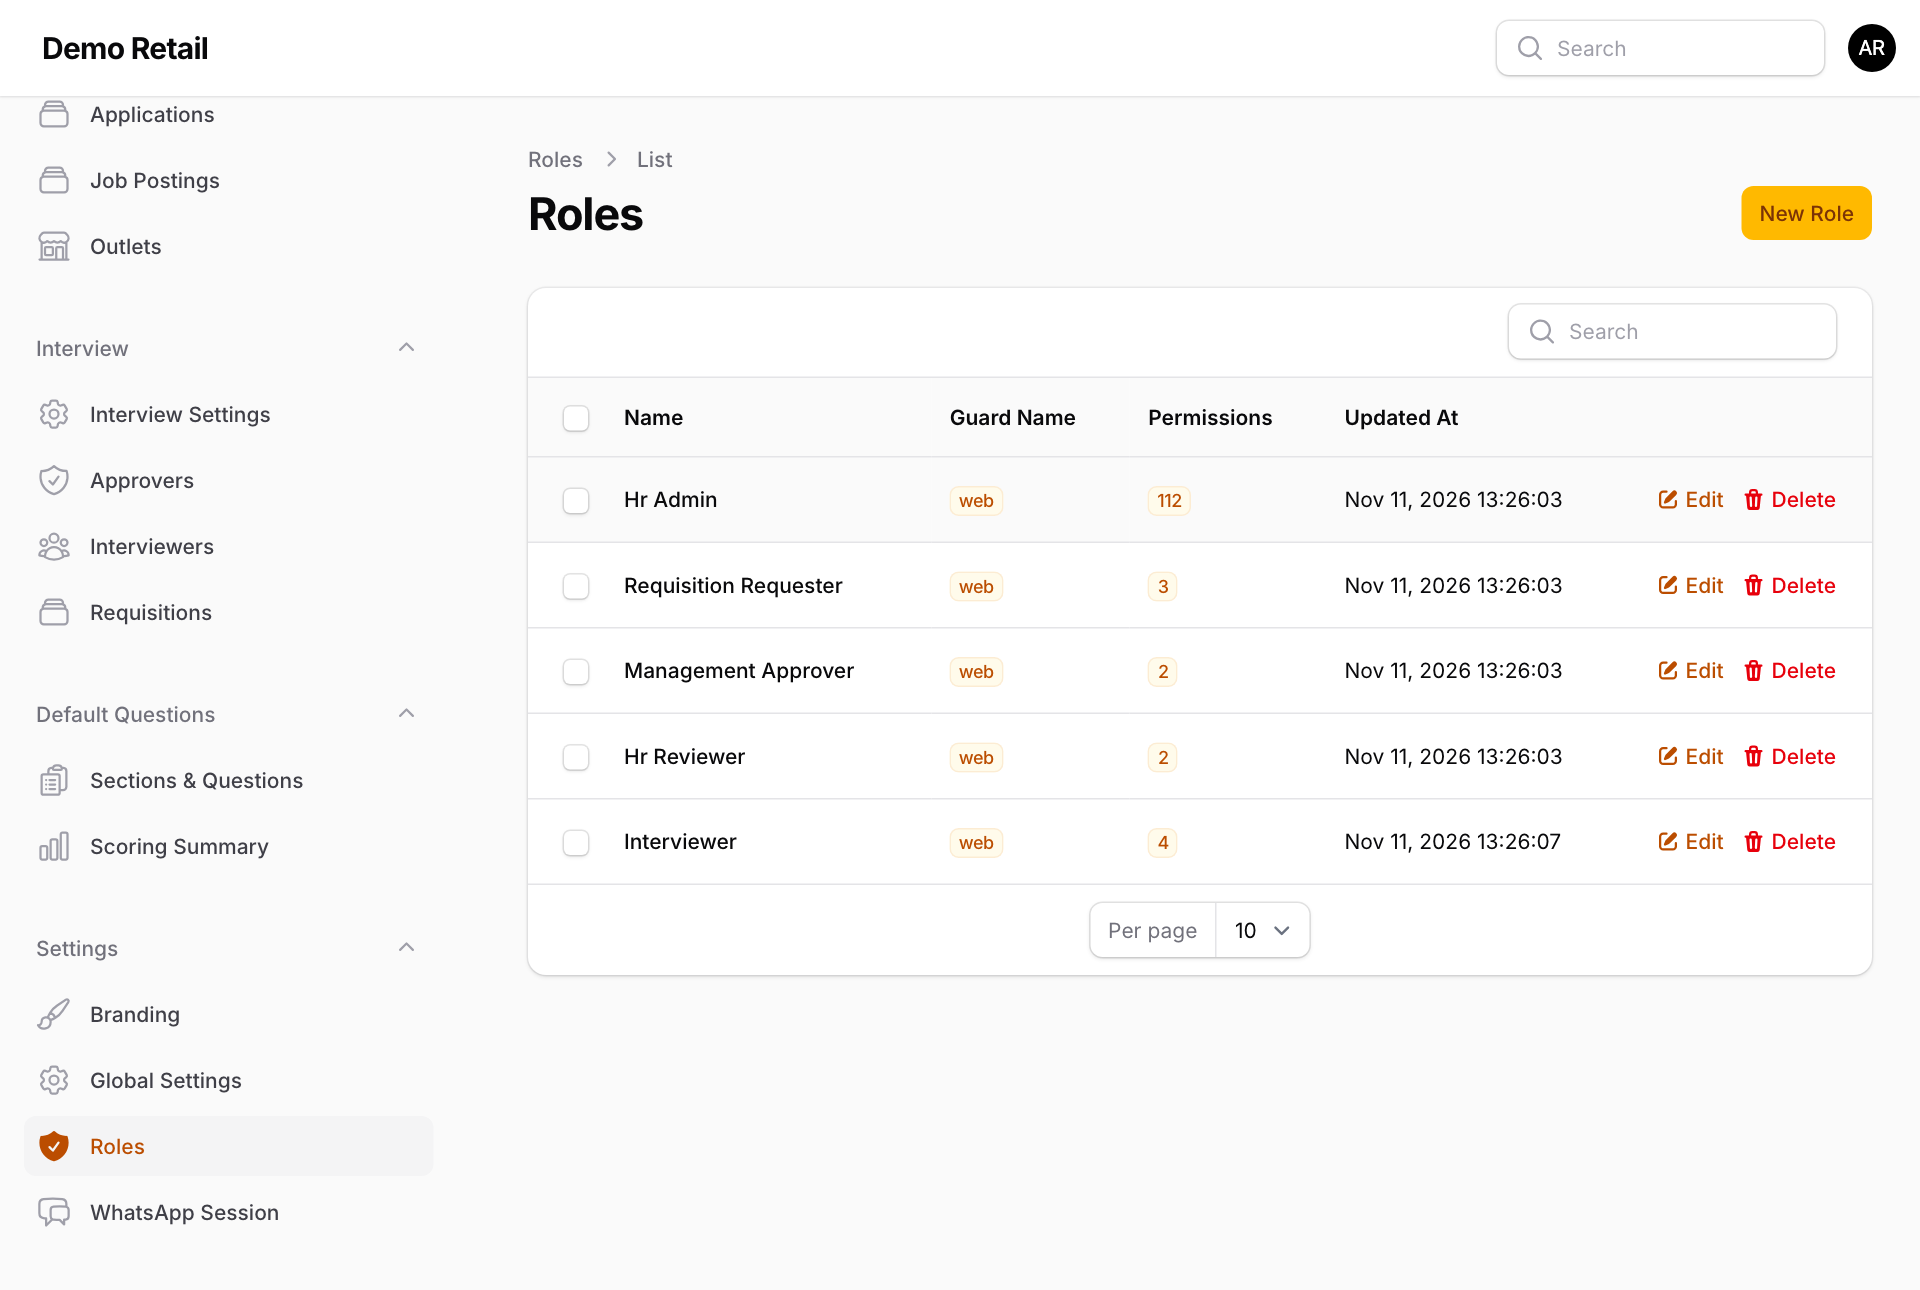
Giving a person an account or a role needs your system administrator today: the Users page does not open, even for Hr Admin. Every account needs the person's phone number, because codes and links go to it.
Global Settings has nothing to set today.